This article describes how to set the custom fields for orders and customers.
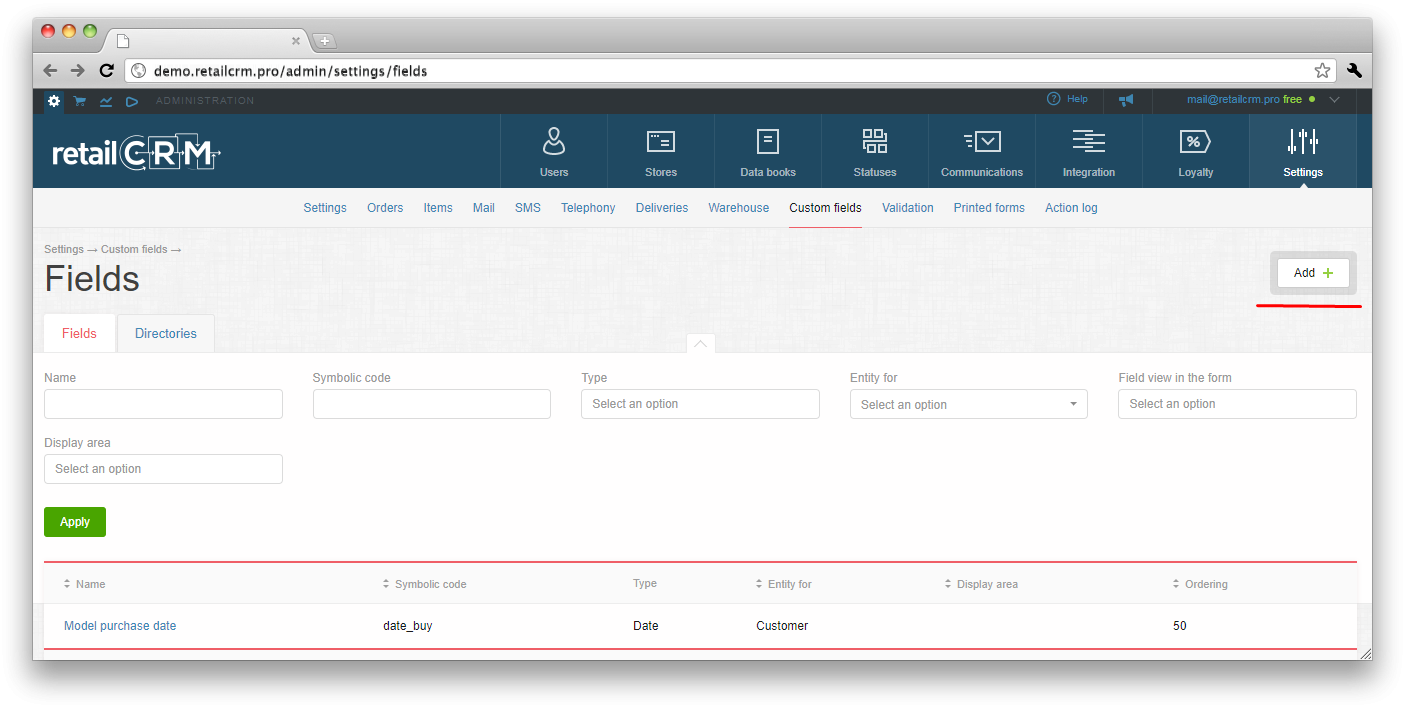
For creation of new custom fields you should go to Администрирование > Настройки and select the «Custom fields» tab.
To create new field for order, you should select «Orders» in «Fields for the table» menu. For creation of the custom field for customer, you should select «Customers». Then click the «Add field» button.
Interface of field setting is similar both for orders and customers.
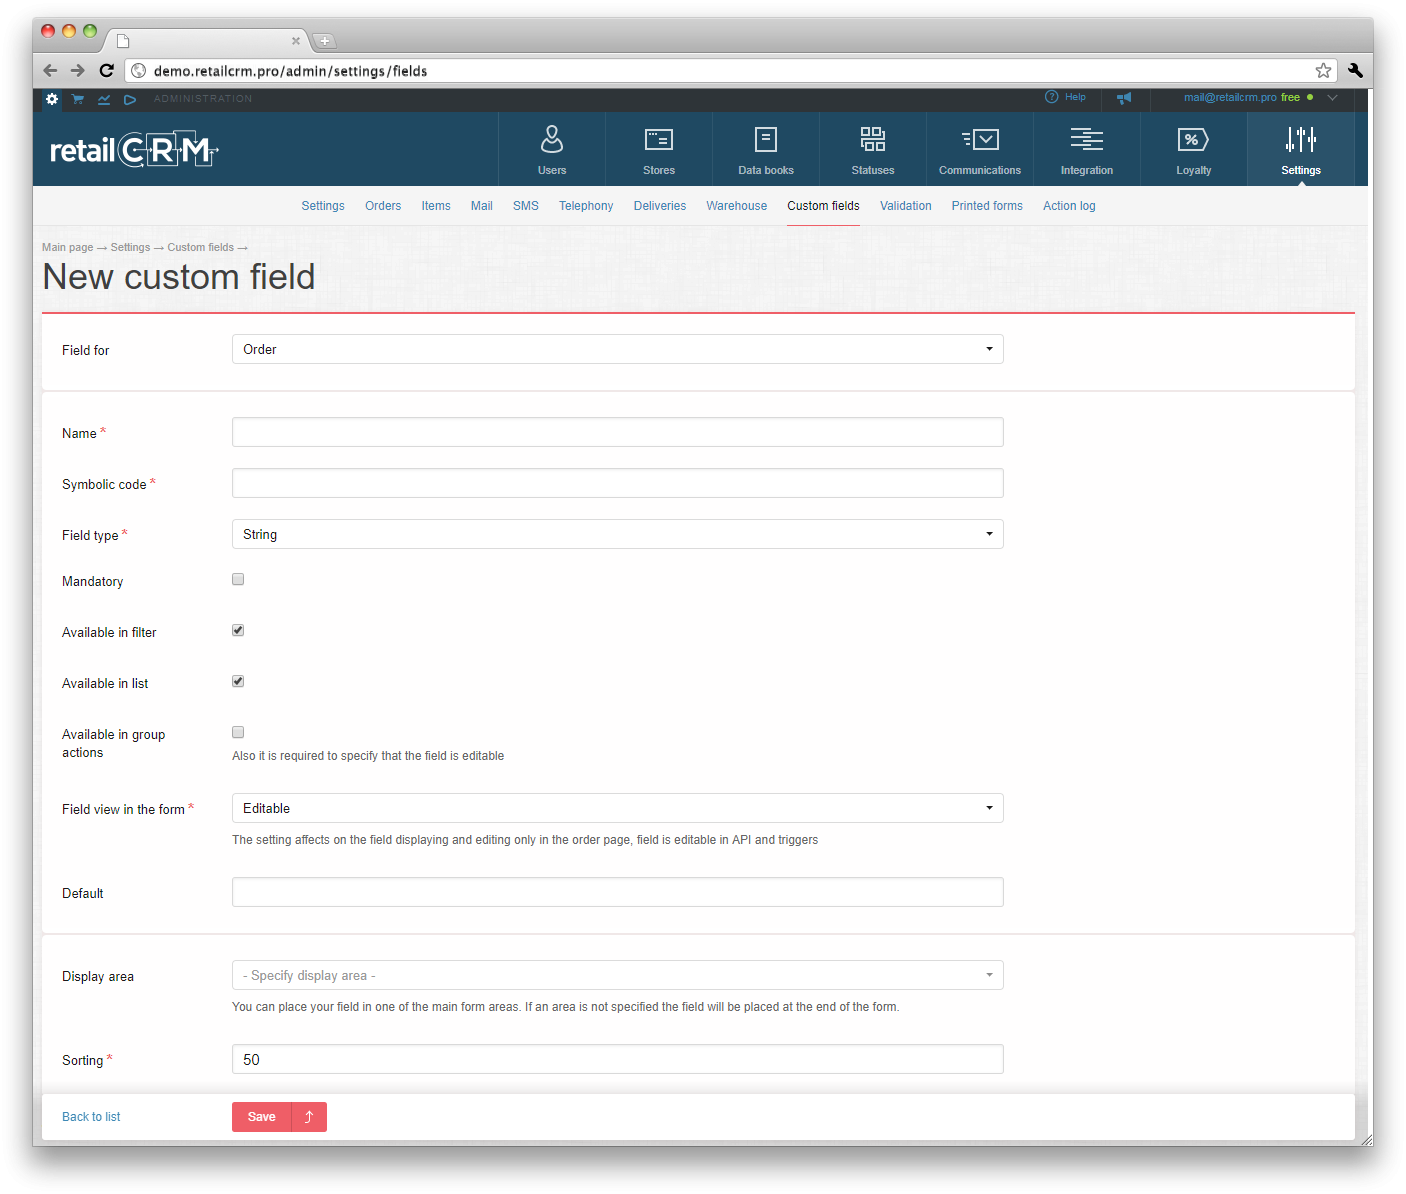
Explanation for all fields:
Attention: There is restriction of quantity of custom fields. It is impossible to create more than 250 custom fields.
Note: for certain types of fields there is a restriction for symbols quantity:
Important: «E-mail» field type works by method GetAnyEmail on order or customer page. I.e. E-mail fields are considered when receiving incoming messages and are offered in hints in the «To» field when writing the letter.
Note: if there is URL in the custom field, it will be displayed like clickable link.
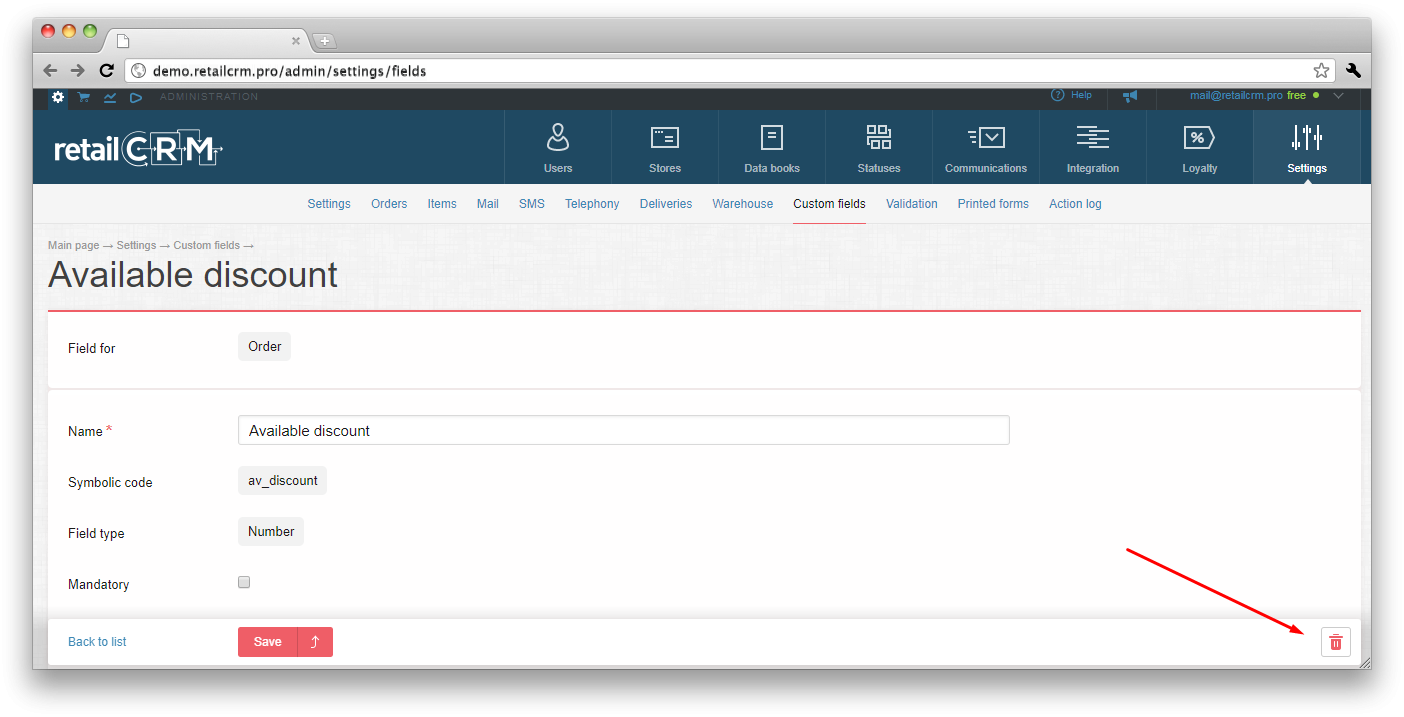
That`s how already created field looks. Pay attention, that it is impossible to change its symbolic code and type after creation.
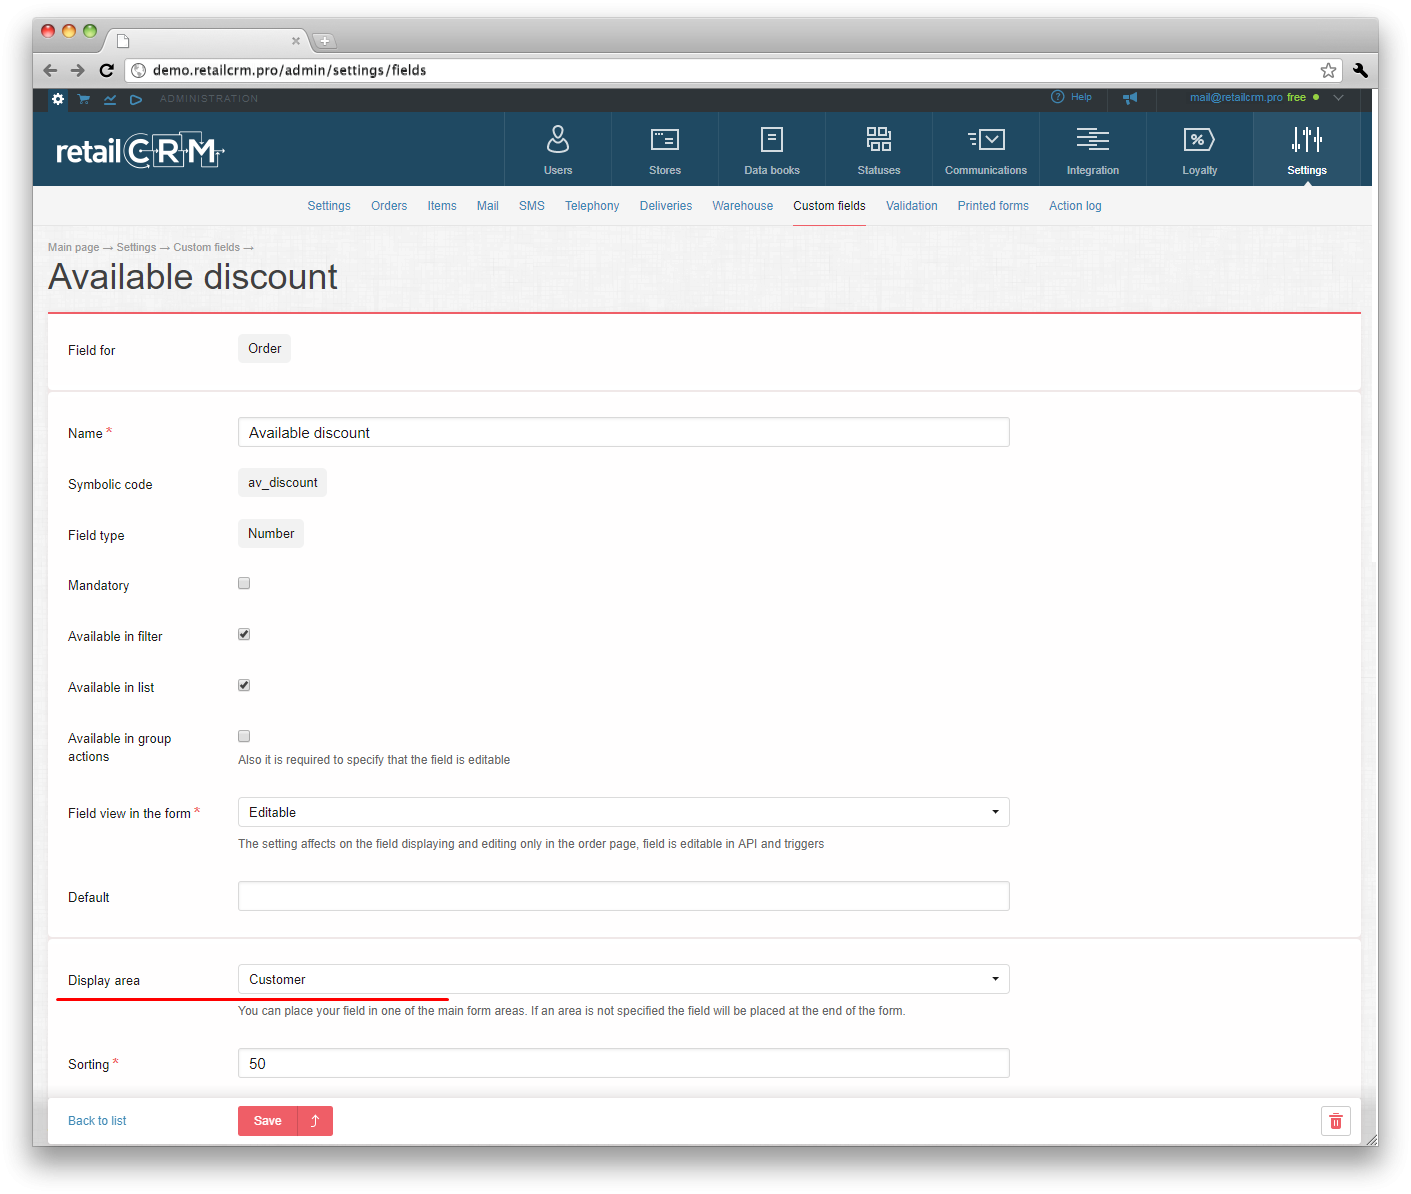
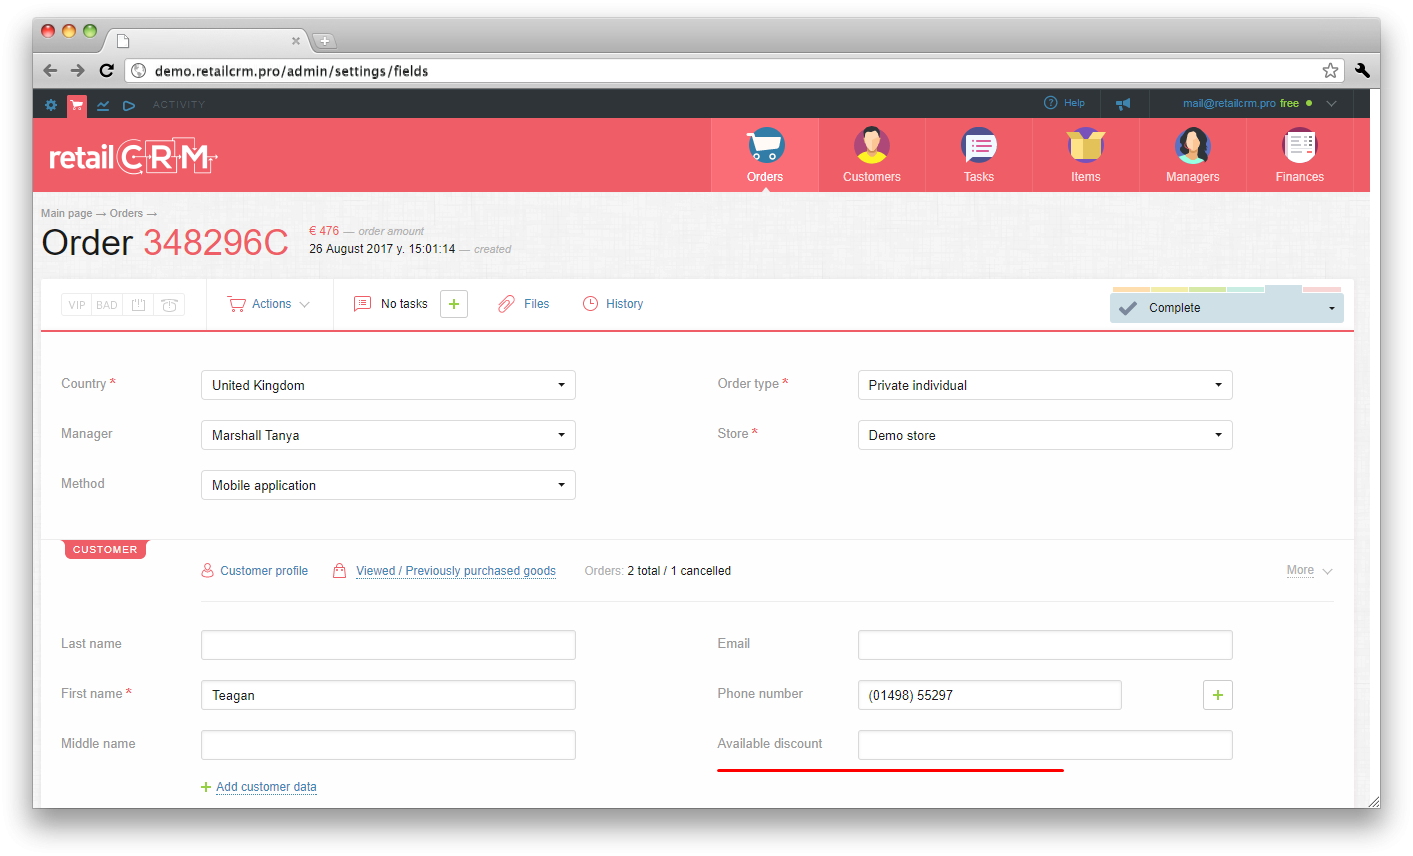
There is «Customer» area specified as display area. So that's how this field looks in the order:
If the «Display area» is not specified, then this field will be displayed in the end of page in «Additional data» block:
If «Editable» field view is not selected, its value will be not editable on the order or customer page.
This functionality is often in use for service fields, for example Roistat ID, IP, utm-tags, etc.
There is a function of custom fields removing. When clicking the removing button (bin), you should be aware that all values specified in this field will be removed too.
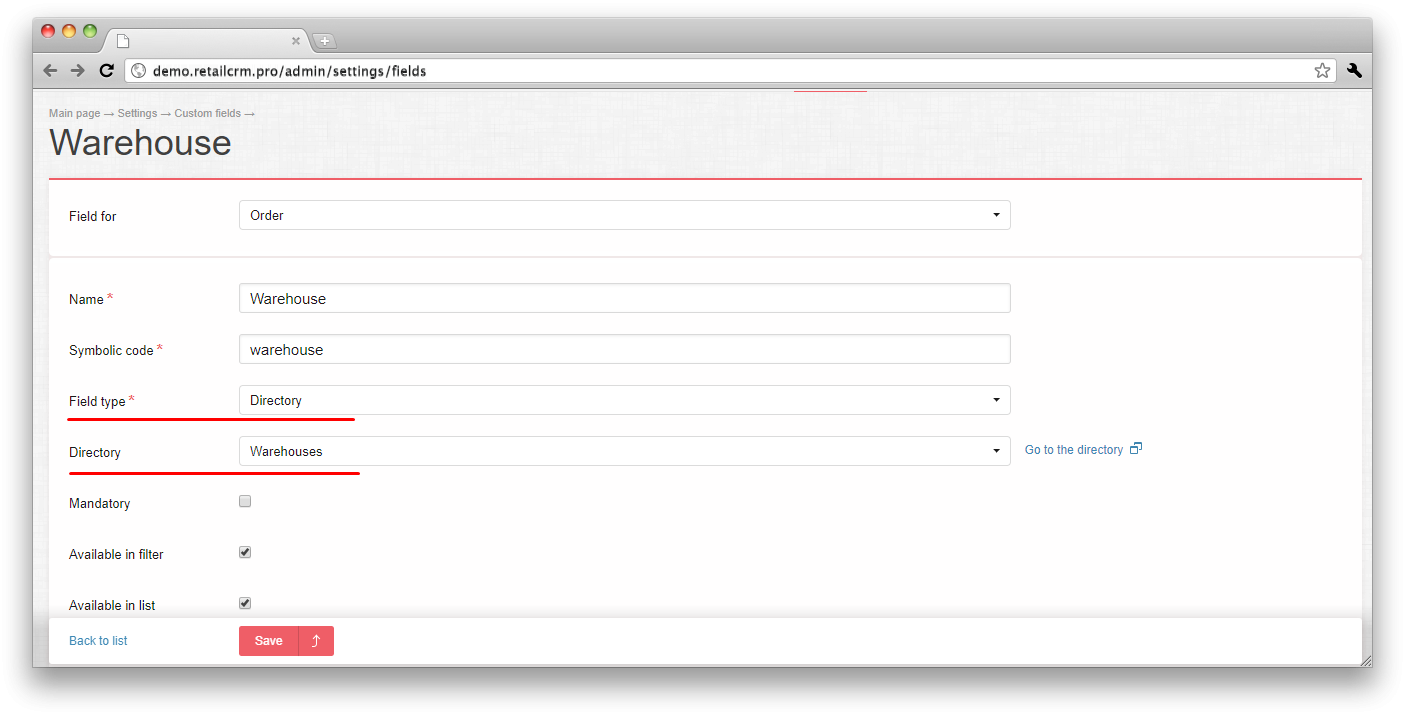
Directory is one of custom field types, it means the selection of the value from drop-down list. These values must be created as directory.
For creation of directory you should go to «Directories» tab.
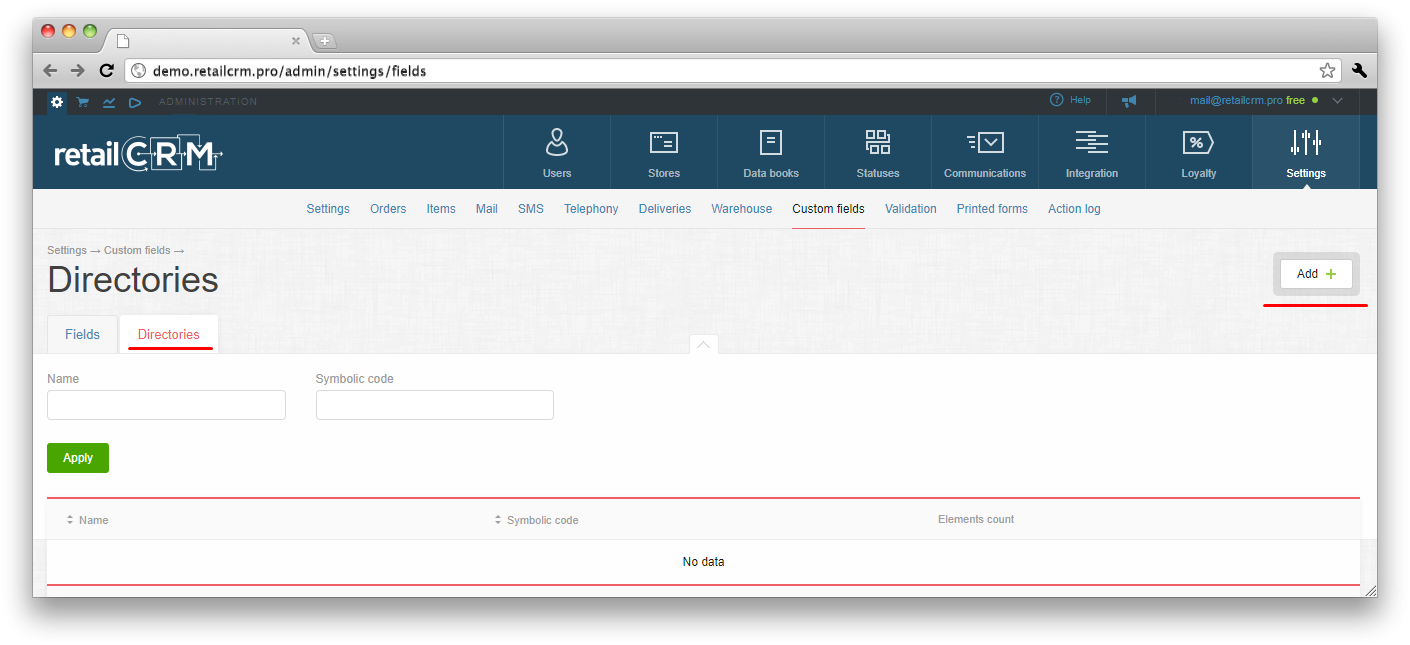
On the screenshot you can see that several warehouses are created in the system. If we have such directory, then we can create custom field «Warehouse» and select the «List of warehouses» directory for it.
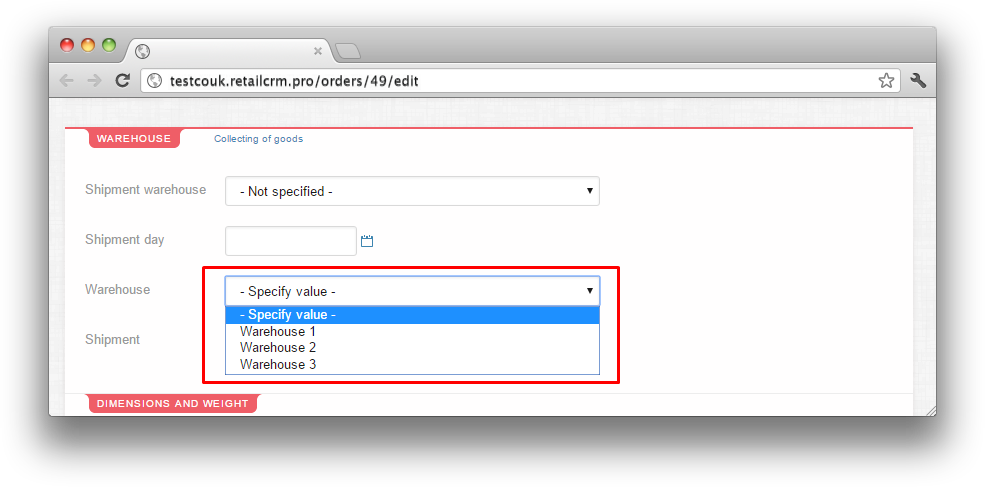
In the order it will look like this:
Here you can find more details about displaying of custom field in the filter by orders/customers and in the order/customer table.
If there are ticks «Available for filter» and «Available in list», then this field will be available for filtration and table export.
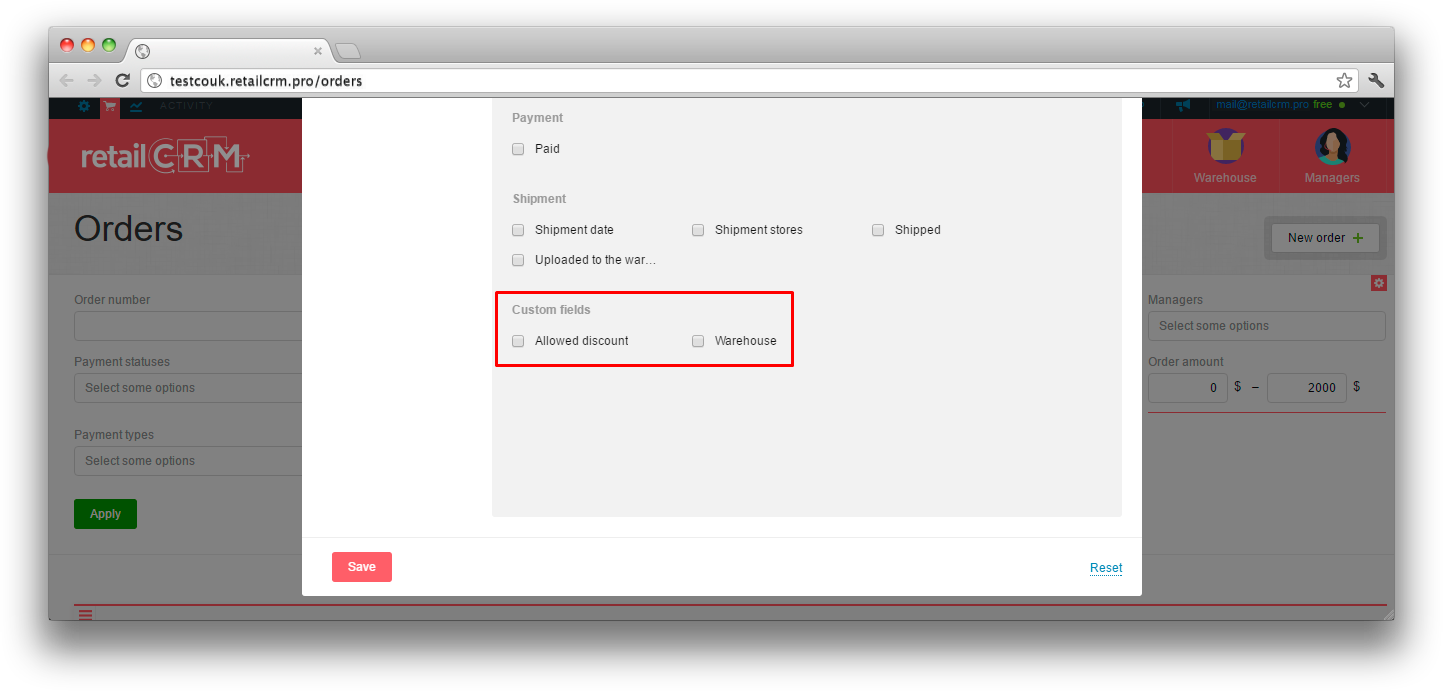
Then you can set the tick in these forms and new field will be displayed in the filter and table.
It is possible for the custom fields to massively change its values.
Important: to mass change the custom fields it’s required for them to be editable.
Note: for a single time the system can change 100 custom fields maximum.
To change fields first need to select customers/orders. After that “Actions” button appears. Pressing it we see the list of possible actions. You need to choose "Change custom field" and then choose the field you want to change.
When press required field you will see the pop-up window where you need to enter the new value.