PayU is a service that allows you to manage online payments.
Integration with PayU allows you to issue a payment link through PayU. After you pay the bill, the payment status automatically changes in RetailCRM. If necessary, you can make a refund within the order in RetailCRM. The payment link can be sent via SMS, e-mail or sent to the customer in a more convenient way, such as through chats and messengers.
The integration is available if at least one of the following countries is enabled: Argentina, Colombia, México, Panamá, Perú, Brasil.
The PayU currency must match the currency selected in RetailCRM.
To connect PayU, you must have a verified PayU account. You have to fill in all the company details, bank details, etc..
Once you sign the contract and have an operating account, you will be able to connect it with RetailCRM.
Before connecting PayU, go to your RetailCRM account (for example: https://yourshop.retailcrm.pro) and access Settings > Integration > API Access Keys and create a new API key.
Select the store and the following methods:
Integration: /api/integration-modules/{code} /api/integration-modules/{code}/edit
Payments: /api/payment/create-invoice /api/payment/(updateInvoice|check)

To start the integration with PayU, click on the PayU icon in the Marketplace widget. After clicking the "Connect" button, you will be redirected to the Connection page, where you will have to enter the previously created API key and the URL of your RetailCRM account.

After saving the changes, you will be redirected to the settings page. Go to the “Accounts” section and enter the “Name”, “Merchant ID”, “Account ID”, “API login”, “API Key” and “Language” to add an account.
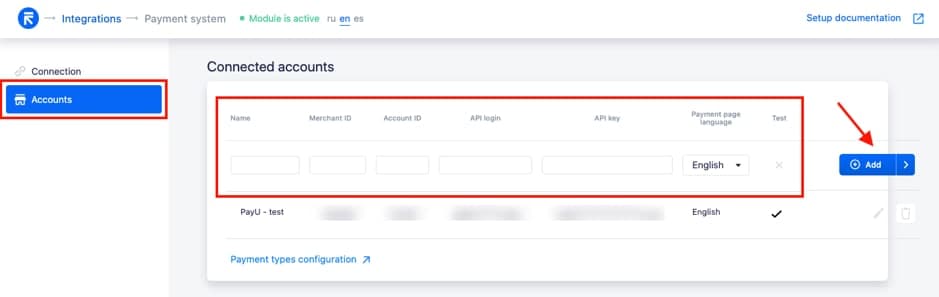
Note: to get the “Merchant ID”, “Account ID”, “API login”, and “API Key”, go to your PayU account. Under Technical configuration > Payments you will have to copy the information.
After adding the keys to the system, click on save and the settings page will be updated where the connected account appears with the store name.
The “Test " field is configured via PayU. It helps you to know if you are using the test or production account.
Below the table with the list of connected accounts, there is a link for the configuration of payment methods within your system.

After the integration with PayU, go to the Data books > Payment types section and click on the "Add" button to create a payment type and connect it with the integration.

In the "Integrate with" section, you have to select the PayU account that you previously connected. After saving the configurations, this field can no longer be modified.
Remember that a new payment method must be created for each connected store.

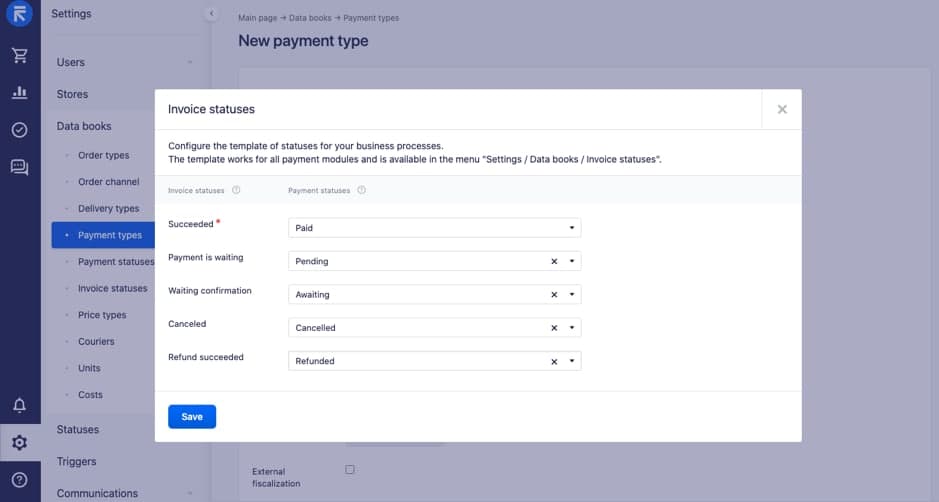
If this is the first time that you have connected a payment method to the directory, you must configure the invoice statuses.
When connecting any payment module later on, these status settings will already apply. If it’s necessary, this link can be edited.
Clicking the "Configure" button in the "Invoice statuses" section opens a pop-up window, allowing you to configure the status link.
If the existing statutes are not appropriate, you can create new ones from this section. To do this, provide the status you want to link and click the “Add new payment status” button.
Remember that the statuses created from the pop-up window are also available in the "Payment statuses" section.
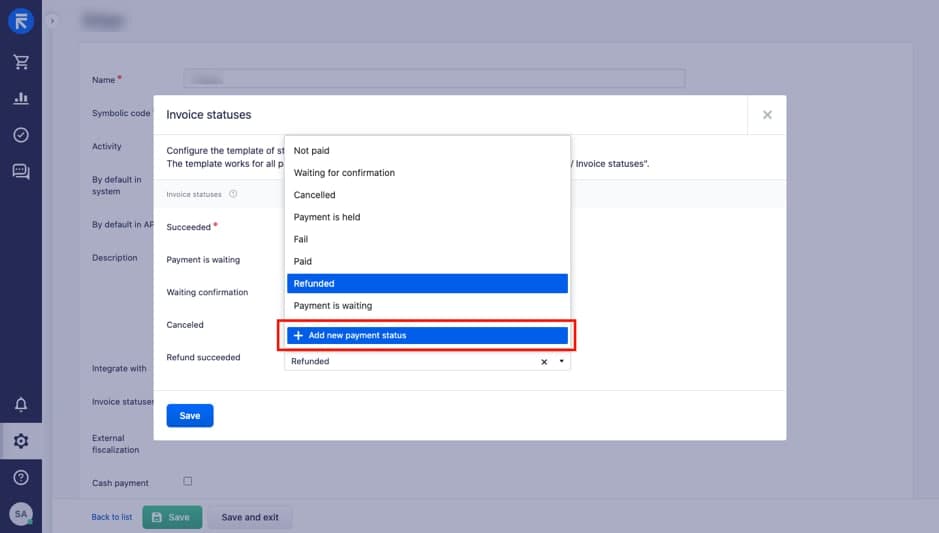
For more information about payment statuses, see the corresponding article.
When everything is already set up in the “Payments” block, PayU payment will be available.

You will have the option to generate the link after saving a created order.
Once the link is generated, you will receive the following information:
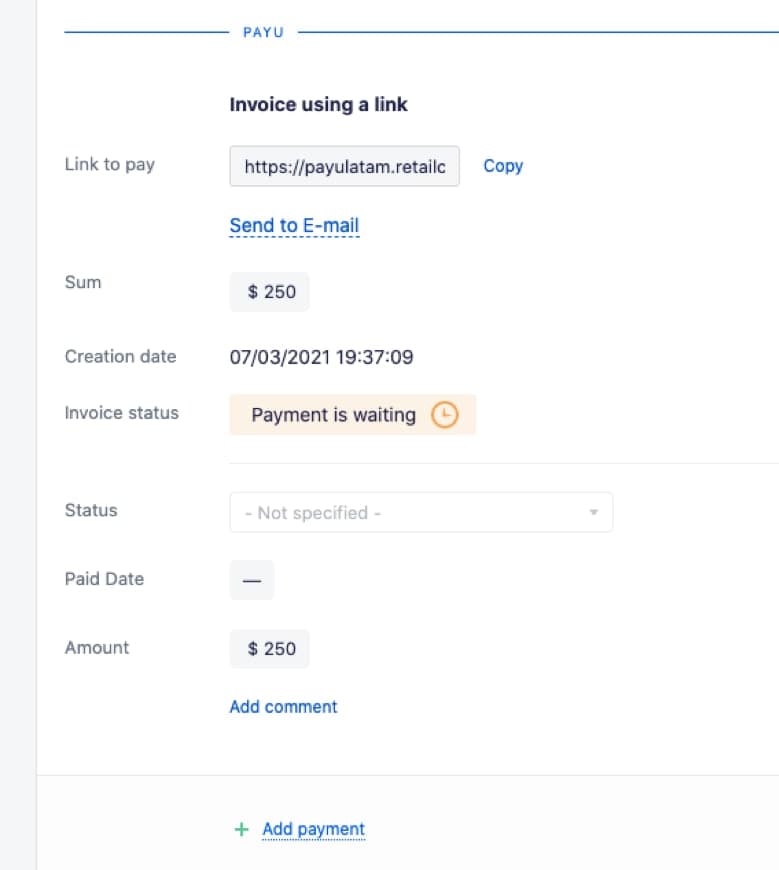
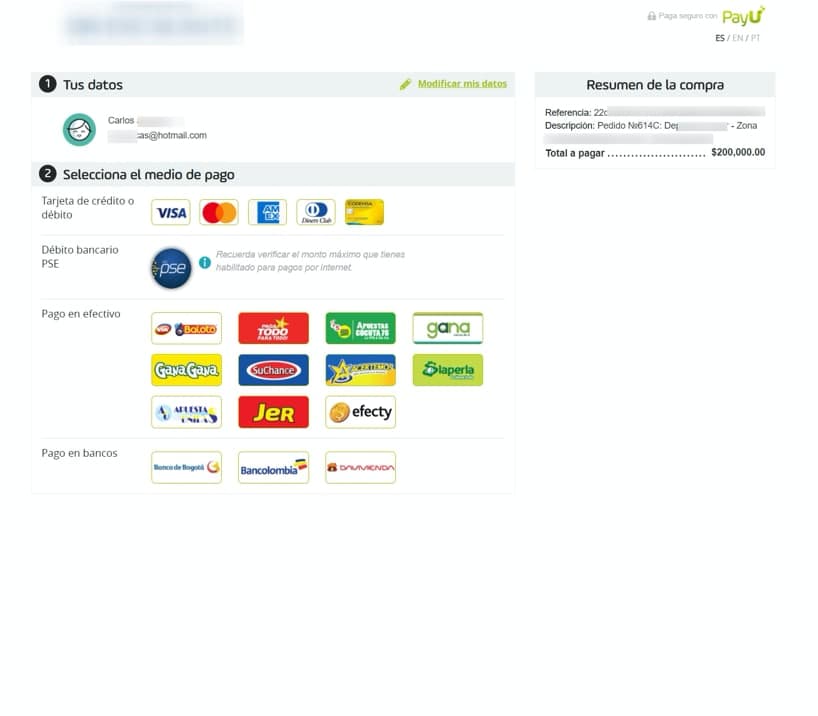
After clicking through the link, the customer will be redirected to the payment window.
When the payment is made successfully, in the order, the payment status is updated according to the link that was created previously and in the field Sum and Paid date the updated data.
If you want to make a refund, you can do it from the same order form by selecting the "Obtain a refund” button.
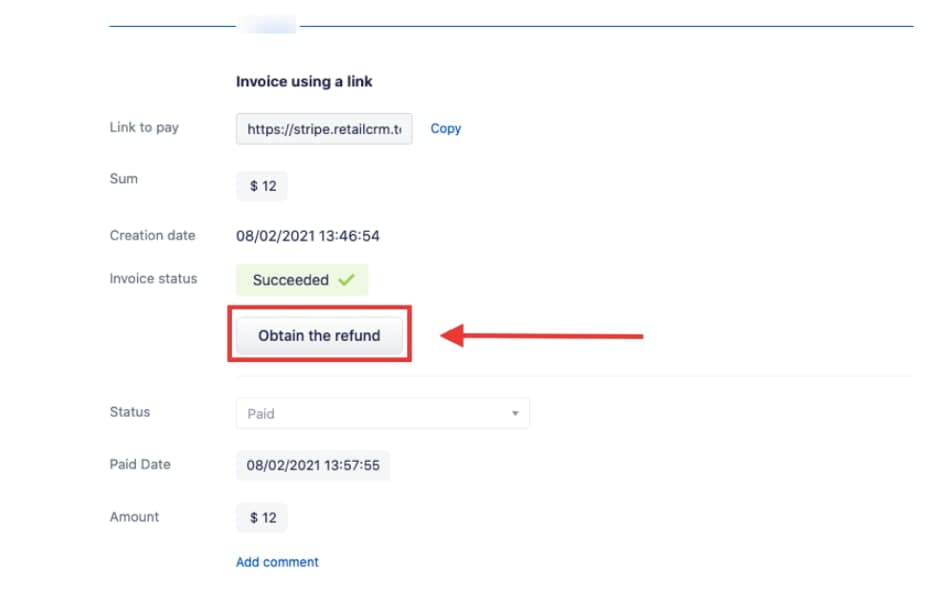
Once the refund is confirmed, the status of the payment will be updated.